Importing Images
Get images into Raster — from your computer, by drag and drop, or at enterprise scale.
There are several ways to bring images into a Raster library. Pick whichever fits the moment — a quick one-off upload, a bulk drag-and-drop, or a large migration.
From your computer
You have two ways to import files from your computer or device.
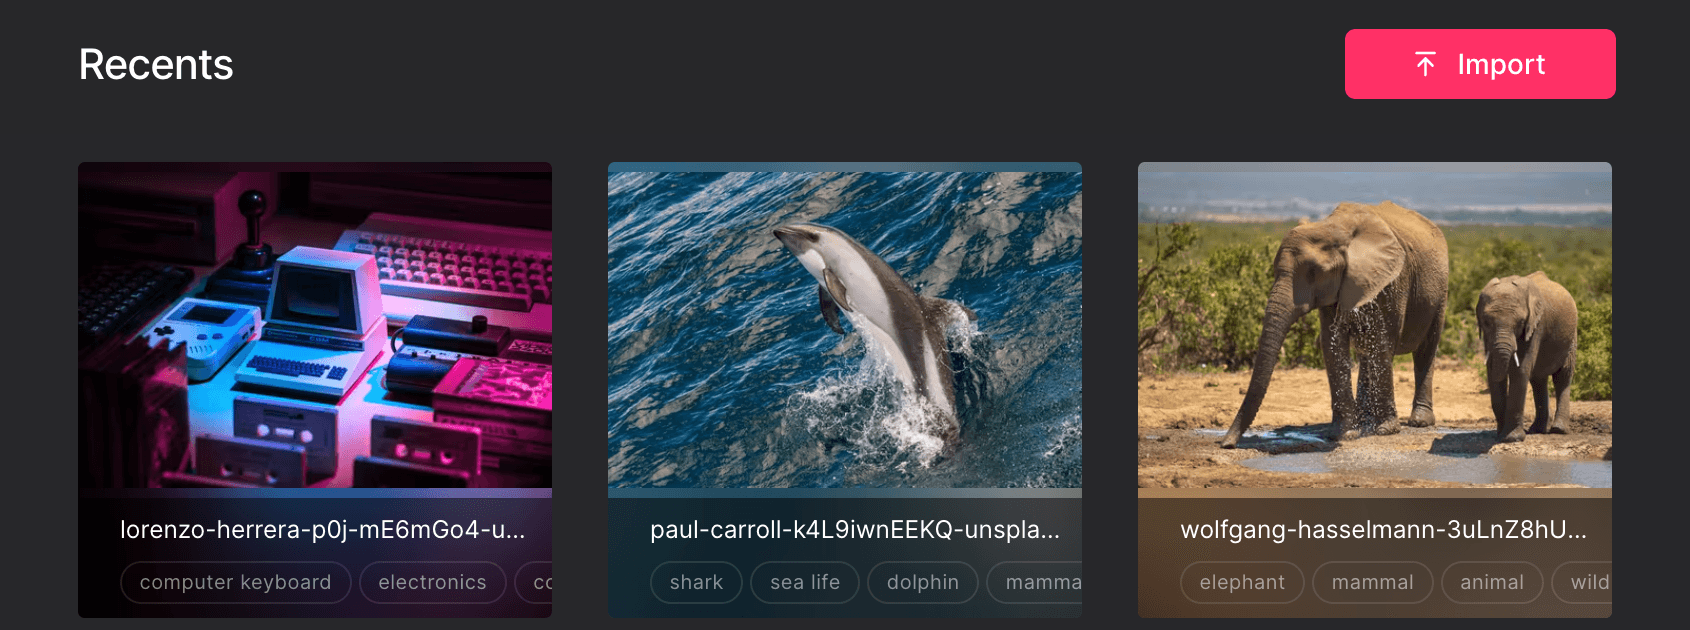
Use the Import button
Tap Import in the top-right corner, then choose the files you want to upload.
Drag and drop
Drag images straight from your file browser into the main viewport. A drop zone appears — release the files there to upload them.
You can select and drop many files at once. Raster uploads them in the background, so you can keep working while they process.
From a cloud service
Support for importing directly from cloud storage services such as Dropbox and Google Drive is on the way. Until then, download the files locally and use one of the methods above.
Large-scale import for Enterprise
Raster is built from day one to scale to thousands of images per library.
If you are migrating a large image library — from another DAM, a shared drive, or years of project archives — we will help you do it cleanly. Reach out to support@raster.app and we will work with you to make the transition to Raster as smooth as possible.
What happens after upload
Once an image lands in Raster, it is:
- Stored safely — the original file is preserved, untouched.
- Tagged automatically — Raster AI analyzes the image and suggests tags.
- Ready to serve — it is immediately available on the CDN with a shareable link.
Learn more in Organizing Images and Serving Images.