Organizing Images
Tag images, find them visually, and manage the trash lifecycle in Raster.
Raster keeps large image libraries usable. Instead of nesting files in folders, you organize with tags — and Raster does much of the work for you with AI-assisted tagging the moment an image is uploaded.
Tags
Tags are how you find images later. An image can carry as many tags as it needs, so it never has to live in just one place.
Add tags to one image
- Open an image by tapping it.
- In the sidebar, find the Library Tags section.
- Type a tag name and press Enter.
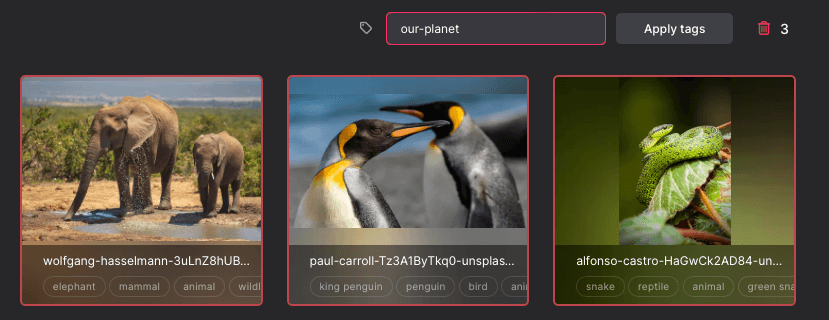
Add tags to many images at once
Select multiple images in the library grid, then apply a tag to the whole selection in one step — ideal right after a bulk import.
Remove a tag
Click the × on any tag to remove it immediately.
Raster AI tags images automatically on upload — recognizing subjects, scenes, and objects. You are free to refine, add, or remove tags at any time.
Find images with Google
Google's reverse image search is built into Raster. With an image open, select Find using Google in the sidebar to run a reverse image search — useful for tracking down a higher-resolution original or checking where an image appears online.
Delete and restore images
Deleting in Raster is safe and reversible for a grace period.
Move an image to trash
Open the image and select Move to trash in the sidebar. To remove several images at once, select them in the grid and move the whole selection.
Review the trash
Select Trash in the library sidebar to see everything you have deleted. From here you can restore an image or remove it permanently.
Automatic cleanup
Images left in the trash are permanently deleted after 14 days.
Permanent deletion cannot be undone. Once an image leaves the trash — manually or after 14 days — it is gone for good.